5 Steps to Restoration of the Family Heirloom
Published by Jim Bell August 27 ,2021
Downsizing your home can be a daunting task for a family. We are by nature emotionally attached to our family valuables whether it is because of sentimental value, financial value, or the “hoarding effect.”
So, Juniata Custom Woodworking, LLC takes our business to a unique and customer-first philosophy which is nothing is more priceless than the family heirloom, “antique (family) furniture,” passed down from generation to generation.
This is why Juniata Woodworking takes heirloom or antique furniture, and provides the upmost care and attention to the piece that is of sentimental value. While furniture restoration is time consuming to a woodworker/finisher, it is not complicated as long as the woodworker tests, documents, and follows the process step-by-step.
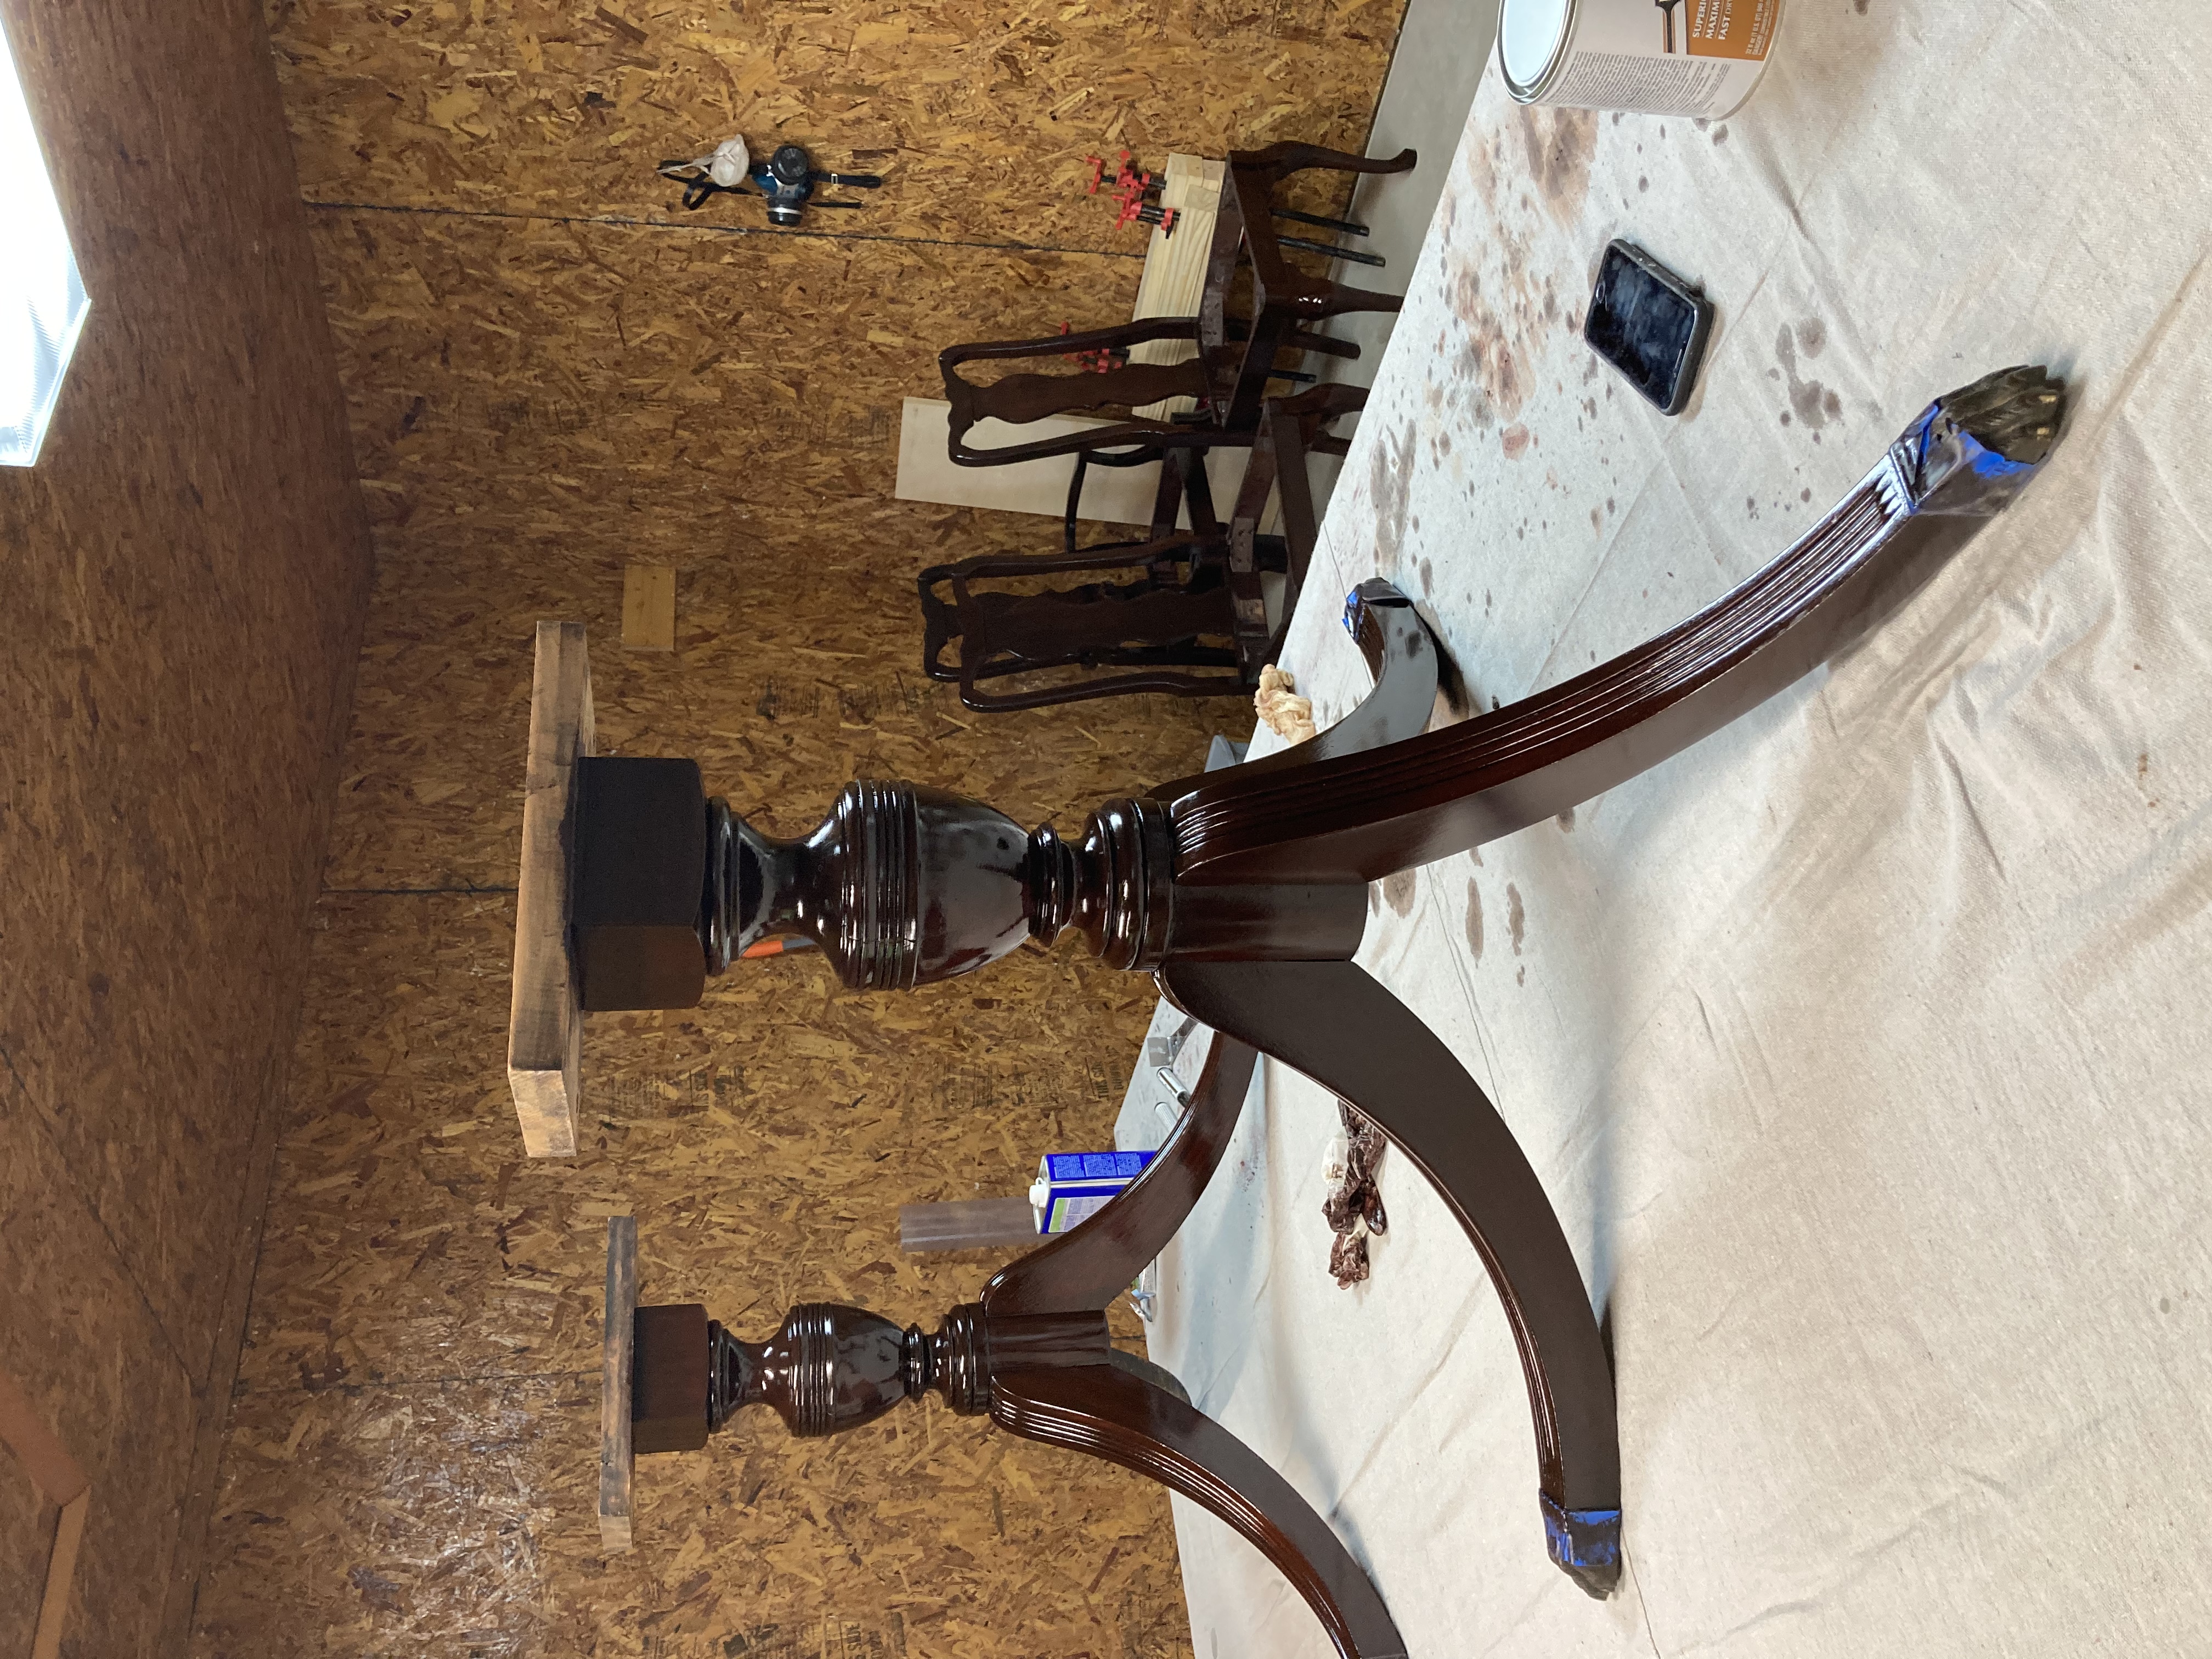
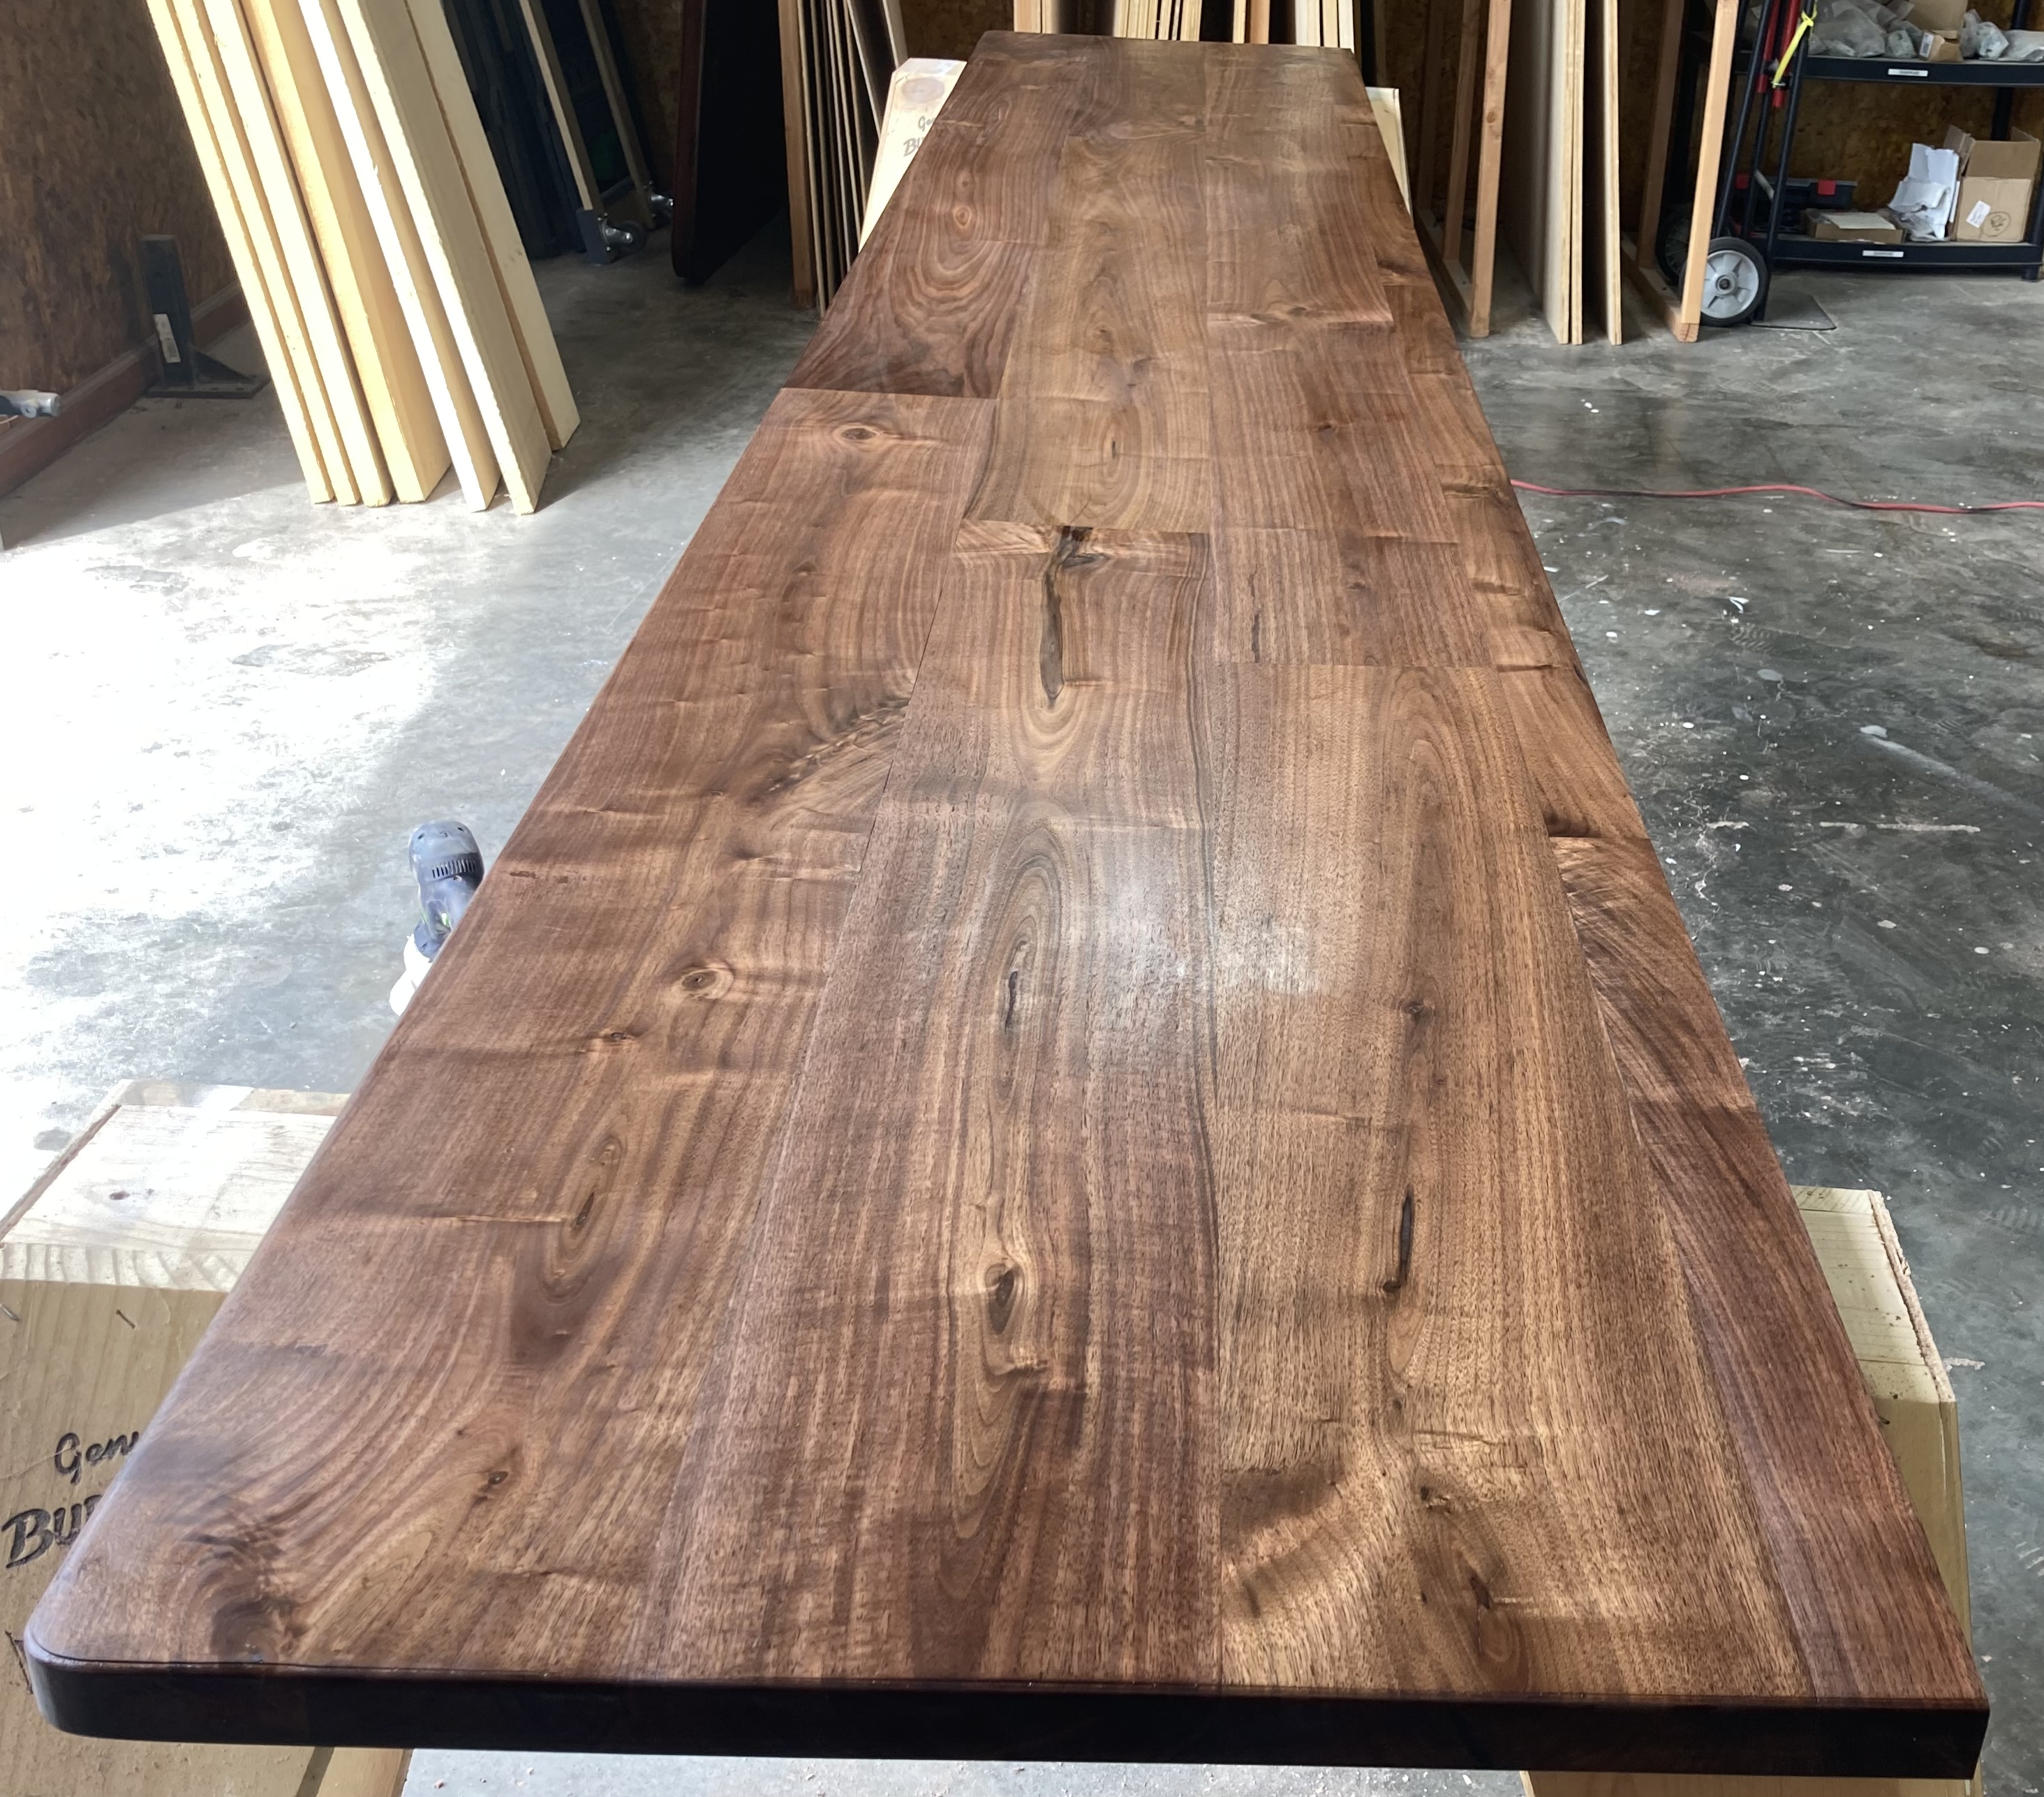
There are five steps that Juniata Woodworking uses for restoring the family furniture or old (antique) furniture.
Step 1 - Apply a Pre-Conditioner Wood- prefer to use a General Finishes pre-conditioner (satin) water-based, natural color. Using a foam brush applicator you will wipe off the excess with a cloth after 5-minute stand. Wait for 20-30 minutes before applying your first coat of stain.
Step 2 - Apply the Stain/Paint- apply your stain of choice (preferably General Finishes) using a brush (natural 2” brush) or stain pad (Beltex Company) with long overlapping strokes to prevent streaks. Make sure that the stain pad is used several times over to bleed the stain into the wood.
You may ask yourself, “How many coats of stain do I need to apply? Answer: depends!!!
You want to wait one hour for dry time with no sanding between coats, and only sand if you have streaks or run off.
Step 3 - Apply a Sanding Sealer- a good sanding sealer needs to be applied before the topcoat finish. Using a foam brush, apply the sanding sealer, wipe off the excess with a cloth and wait 1-2 hours for dry time.
After dry time, apply a 320-400 grit sand paper to the surface. This will produce a milky white residue in which you just wipe off with a tack cloth or damp cloth.
Step 4 - Apply the Topcoat Finish- this is the “Gold Standard” of finishing. The topcoat is a science by which you need to be precise and pay attention to detail. I require my finisher(s) to write down each step and repeat those steps in each process of application.
Using a shellac, polyurethane, or varnish you want to use a 2” fine (painters) brush or trace cloth when applying. Using long-overlapping strokes you will go back and forth with a mental image of a plane landing and taking off, whether going from left to right or vise-versa.
Usually, at minimal, I give one-hour wait time before applying the next coat. Depending of the type of sheen you going for 3-4 coats should do the job. You may need to apply 400/600 grit sandpaper between each coating. If you notice a surface scratch upon your last layer you could use a polishing sandpaper of 2000 grit.
Step 5 - Apply the Polish- between 48-72 hours after the last finish topcoat you can apply a wax paste (Mohawk) by buffing by hand or automatic buffer application. This will give the product a rich complete finish and it will take out any surface blemishes or scratches left behind on your final topcoat finish.
Whether you or someone that you hire follows the process step-by-step you will be guaranteed that your family heirloom will look new and fresh, and that it will continue to keep from generation to generation.


